

INSTALLATION · 4 min guide
What a Licensed PURWTR Install Looks Like
The photo-documented homeowner and plumber milestone checklist, step by step.
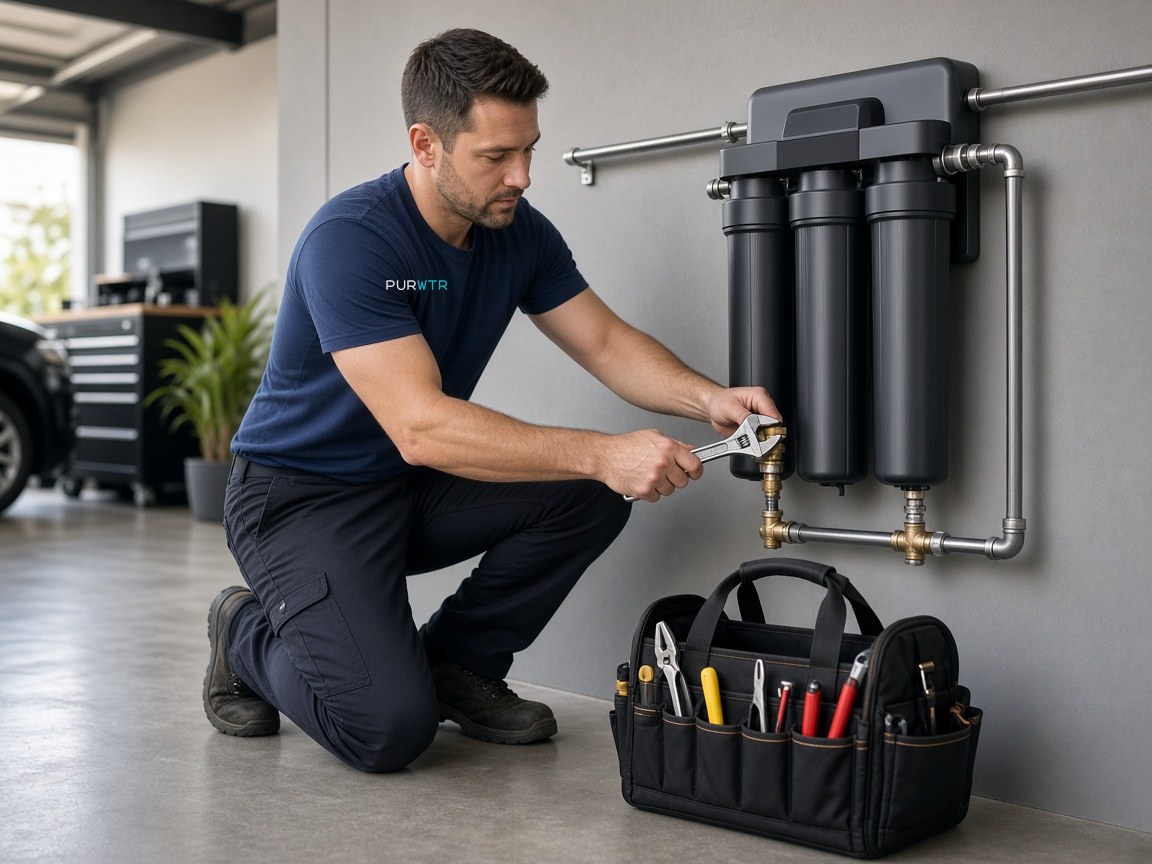
Every PURWTR installation follows a gated milestone chain designed to protect homeowners and document work quality at every stage.
Your installer verifies unit condition upon arrival, photographs each stage of the plumbing tie-in, logs before-and-after water parameters, and completes final sign-off right on site.
- Step 1 — Delivery confirmation photo and homeowner verification before scheduling.
- Step 2 — Digital agreement signature and plumber arrival packaging inspection photos.
- Step 3 — Pre-install checklist confirmation, timed installation, and step-by-step progress photos.
- Step 4 — Clear glass water sample photo, manual before/after water test entry, and homeowner digital sign-off.